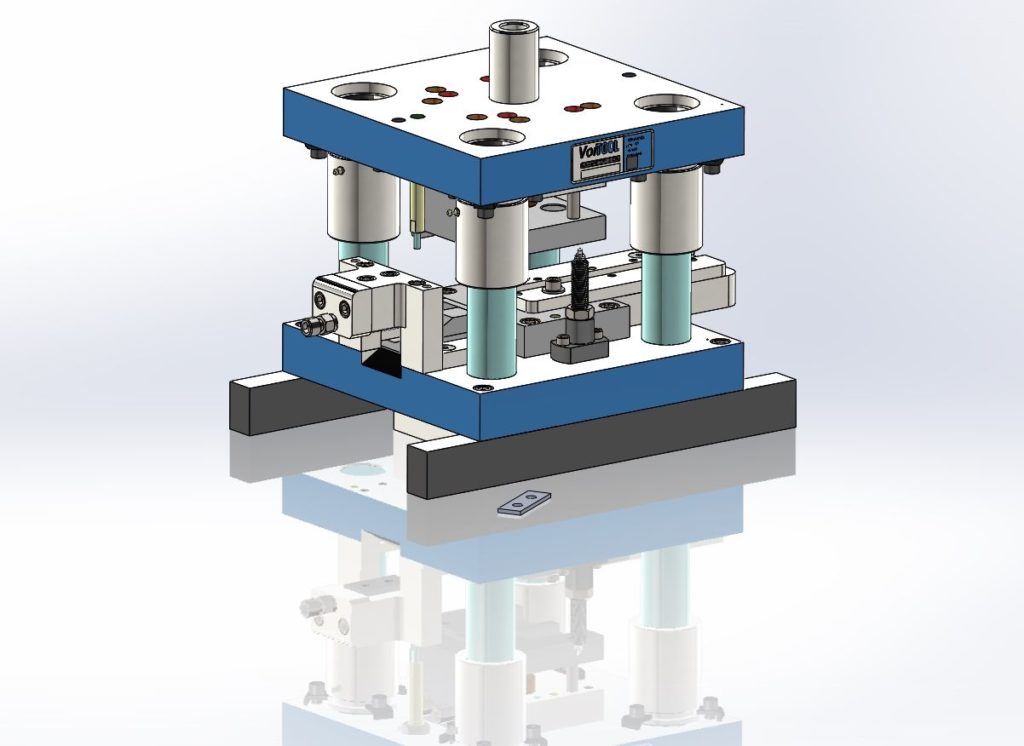
Die and tool design determine the structure of the product and therefore, the design team precisely undertakes die design principles to ensure the product is developed impeccably. Before beginning the production process, a progressive die is prepared with exact geometrical specification in advance. The carefully planned die and tool design eliminates inferior objects that are prone to malfunction thus, assuring a whole product batch with higher chance of success.
The Beginning: the pre-production process
Many think that die and tool design could only help during the production process but that’s not entirely accurate. The process also helps in evaluating blueprints vigilantly and detects the potential errors that can deteriorate the entire production process. It ensures if the tool is machine-ready before it hits the presses saving the die design team from future repair costs, time, and unnecessary hassles.
Progressive Die Design
This is the very first step of designing a die for a specific product where die and tool design analyses the arrangement of every hole, punch, and bend in the blank strip. During this stage, computer-aided design (CAD) technique is heavily used to design the complex strip while concluding chief characteristics including dimensions, tolerances, feed direction, and scrap minimisation.
The Effect of Die and Tool Design on the End Result
Once the stock strip is successfully completed and approved, the designer receives detailed components of the tool. Now, when every material for tool is lined up in order dies are machined, ground. For any sheet metal production, modelling process and blanking dies design are quite systematic and sustain various operations like evaluating various part design features, selecting manufacturing operation type, the type of die, the press machine and ideal dimensions of the die components from an engineering point of view. The process helps in reducing overall manufacturing cost while increasing on-time deliveries, speed and quality.
 +91-120-4736400
 info@sphinxworldbiz.com


